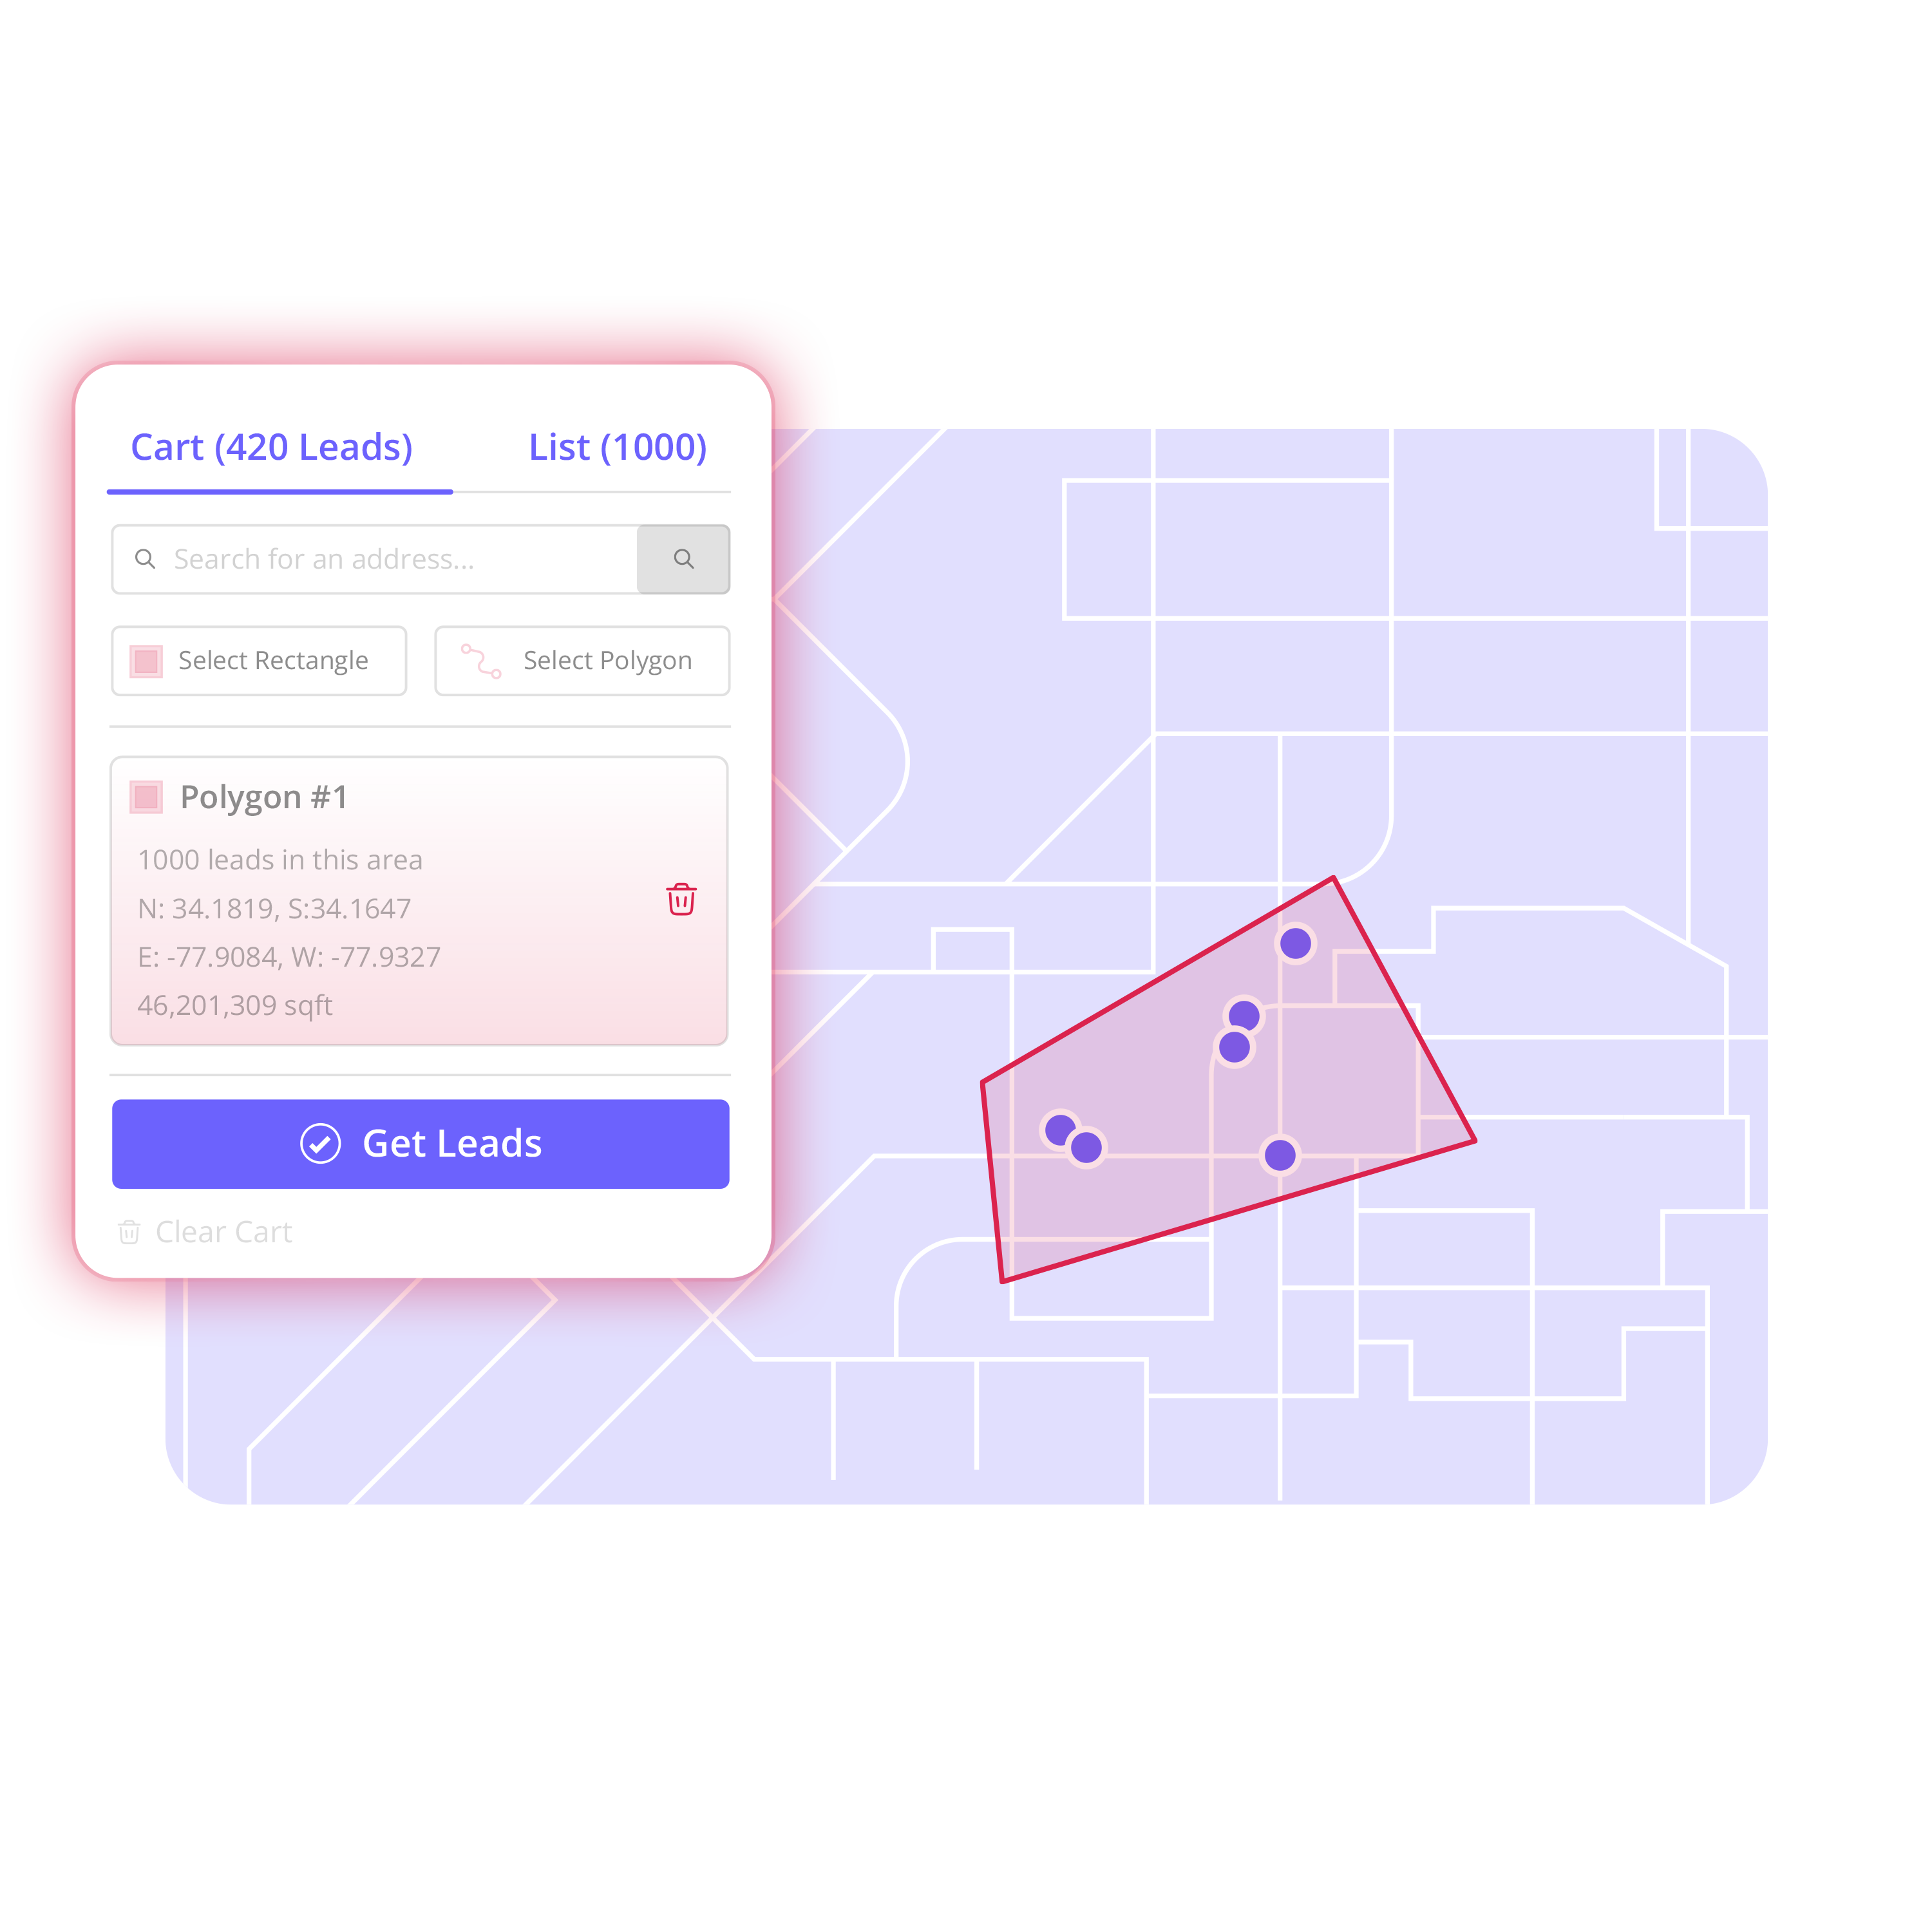

A completed roof on a visible street can create a real prospecting opportunity, but only if your team can define the surrounding area correctly. When you use polygons for prospecting, you choose the specific streets, blocks, and pockets of homes worth working instead of accepting a broad radius or cleaning up a generic list later.
That matters when a neighborhood has a highway, commercial corridor, apartment complex, lake, or competing territory line nearby. A circle includes all of it. A polygon lets you follow the actual shape of the campaign.
For roofing teams, the practical goal is simple: turn your last roofing job into your next neighborhood campaign. Start with the neighborhood. Draw the area. Find the properties. Build the list your team will actually work.
Why use polygons for prospecting?
A polygon is a custom boundary drawn directly on a map. It gives your team control over where a campaign starts and stops. Rather than pulling every address within a fixed distance of a job, you can trace the streets with the right housing density, property type, and sales potential.
That control prevents familiar field problems. Reps do not get sent across major roads they would never cross on foot. Canvass managers can avoid areas already assigned to another team. Marketing can isolate the neighborhood that makes sense for direct mail rather than mailing an entire ZIP code. Operations can see exactly what was selected and why.
The point is not to draw the largest possible area. It is to create a workable territory with a clear purpose. A tight polygon around 150 homes may be more useful than a loose boundary containing 1,000 mixed records that require hours of cleanup.
Polygons are especially useful when geography is irregular. A storm path may follow only a few subdivisions. A roofing job may sit beside a neighborhood divided by busy roads. A property management company may want owners within a defined rental pocket, not every parcel in a city section. In each case, the map should match the work.
Start with a prospecting reason, not a blank map
Before drawing anything, decide what makes this area worth pursuing. The reason shapes the boundary and helps your team avoid building a list that is too broad to act on.
For a roofing contractor, the trigger may be a recently completed job, a hail-affected neighborhood, or a subdivision where the company already has visible work. For HVAC, it may be a service-area expansion around existing customers. For solar, it may be a canvassing zone with the right housing layout. For an investor, it may be a targeted acquisition area around a known submarket.
Be specific. “The north side of town” is not a campaign definition. “The streets surrounding our completed roof on Oak Drive, excluding the apartments west of Route 12” is one.
That definition also gives managers a clean handoff. The person building the territory knows what to include. The rep receiving the Audience knows the intended campaign. Nobody has to guess whether a record belongs in the list.
How to use polygons for prospecting in six steps
1. Search for the starting point
Open the map and search for the address, neighborhood, or market you want to work. For completed-job prospecting, begin with the home where the work was done. This makes the job location the center of a deliberate local campaign, not just a pin on a map.
Zoom in until you can read the street pattern. Look for natural boundaries: collector roads, subdivision entrances, commercial strips, water, rail lines, and existing territory lines. These details are what turn a rough area into a field-ready plan.
2. Draw the streets your team can actually work
Choose the polygon tool and click around the boundary you want. Follow the streets and blocks that make sense for the campaign. You can include a cul-de-sac, skip an apartment complex, wrap around a school, or stop at a road that separates the neighborhood from the next prospecting zone.
Keep the shape practical. If a rep would not naturally move through part of the area, it may not belong in the polygon. If the list is meant for direct mail or outbound calling, the boundary can be wider, but it should still reflect a clear market decision.
This is where polygons outperform a simple radius. A radius is fast, but it cannot distinguish between the homes you want and the properties you know do not fit the campaign. Use a radius when a clean circular area genuinely works. Use a polygon when the streets matter.
3. Review the available properties inside the boundary
Once the area is drawn, review the property-based leads shown within it. Map layers and clustering help you understand the shape and density of the territory before you build a list.
Do not select records blindly. Look at what the map is telling you. Are the properties primarily single-family homes? Does the boundary include a section you meant to exclude? Are existing contacts already shown in the area? If so, you can avoid adding duplicates or assigning prospects that another rep is already working.
This review step is where many teams save time. It is easier to adjust a line on a map than to remove dozens of irrelevant rows from a spreadsheet after export.
4. Select leads and create an Audience
Select the properties that fit the campaign, then create an Audience. An Audience turns a geographic selection into an organized prospect list with a clear use case.
Name it so the purpose is obvious. “Oak Drive Completed Job - October” tells a sales manager far more than “New List 4.” For storm response, use the affected area and date. For expansion campaigns, use the neighborhood and the team or channel that will work it.
A clean Audience gives the campaign ownership. It separates one neighborhood effort from another and gives your team a shared place to review records, update statuses, add notes, and manage next steps.
5. Enrich the records that matter
Build the territory first. Enrich what matters.
Not every property in an Audience needs the same contact information immediately. A canvassing team may begin with property records and enrich a smaller group for follow-up calls or mail. A manager preparing a phone campaign may enrich selected records before assigning them. This selective approach keeps preparation focused and reduces unnecessary data work.
Available contact information should be handled according to your company’s outreach policies and applicable requirements. Contact availability does not indicate that a property owner requested contact or provided marketing consent.
Use individual or bulk enrichment based on the campaign. The right choice depends on how the list will be worked, how quickly it needs to launch, and which records have already shown enough potential to justify additional research.
6. Organize the work, then export
Now assign prospects, set statuses, add notes, and organize the Audience in the view that fits your team. A sales manager may use a board to see who owns each stage. An operations manager may prefer a list view to check assignments and remove duplicates. A rep may need a focused set of records with clear next actions.
When the campaign is ready, export the organized data into the sales or outreach tools your team already uses. The goal is not to trap the work inside a map. The goal is to move from map to prospect list with less spreadsheet cleanup and clearer ownership.
Territory supports that workflow: search the map, draw an area, select leads, create an Audience, enrich selected records, organize the campaign, and export when needed.
Common polygon mistakes that slow down campaigns
The most common mistake is drawing too much territory because more records feel like more opportunity. In practice, oversized areas create vague assignments, duplicate work, and lists nobody finishes. Start with a campaign your team can work within a defined period, then expand based on the next practical boundary.
Another mistake is ignoring current contacts. If your business has prior records in the neighborhood, use existing-contact overlays and imports to see them before creating new assignments. That protects the customer experience and keeps reps from stepping on each other.
Teams also lose time when they treat every polygon as permanent. A polygon is a campaign boundary, not a forever decision. Adjust it when a storm footprint changes, a rep’s territory shifts, or a neighborhood proves too large for the available team.
Finally, avoid drawing a shape without documenting its purpose. The map may be self-explanatory to the person who created it, but not to the manager who inherits it next week. A clear Audience name, assignment, and notes make the territory usable after the original campaign planner moves on.
Use the map to make better campaign decisions
Polygons work best when they support an operating decision. They help you divide a large neighborhood among reps, build a focused saturation campaign around a completed job, isolate a storm-response pocket, or prepare a precise acquisition list. They do not replace a sales process, but they give that process a cleaner starting point.
Choose the area. Build the list. Then give the team a territory they can see, understand, and work with confidence.