
A campaign is only as useful as the list behind it. If your team needs to export prospect lists to CSV, the goal is not simply getting rows into a file. The goal is sending a defined group of properties and contacts to the people and tools that will actually work them - without duplicate records, unclear boundaries, or a spreadsheet cleanup project.
For roofing, solar, HVAC, real estate, and other local sales teams, the fastest path is straightforward: choose the area, find the properties, build the list, enrich only what matters, organize ownership, then export. Start with geography. Everything else gets easier.
Start With a Territory, Not a Raw Lead File
Purchased lists often create work before they create opportunity. They may include addresses outside your service area, properties your team has already worked, or records that do not fit the campaign. A CSV full of names is not a territory plan.
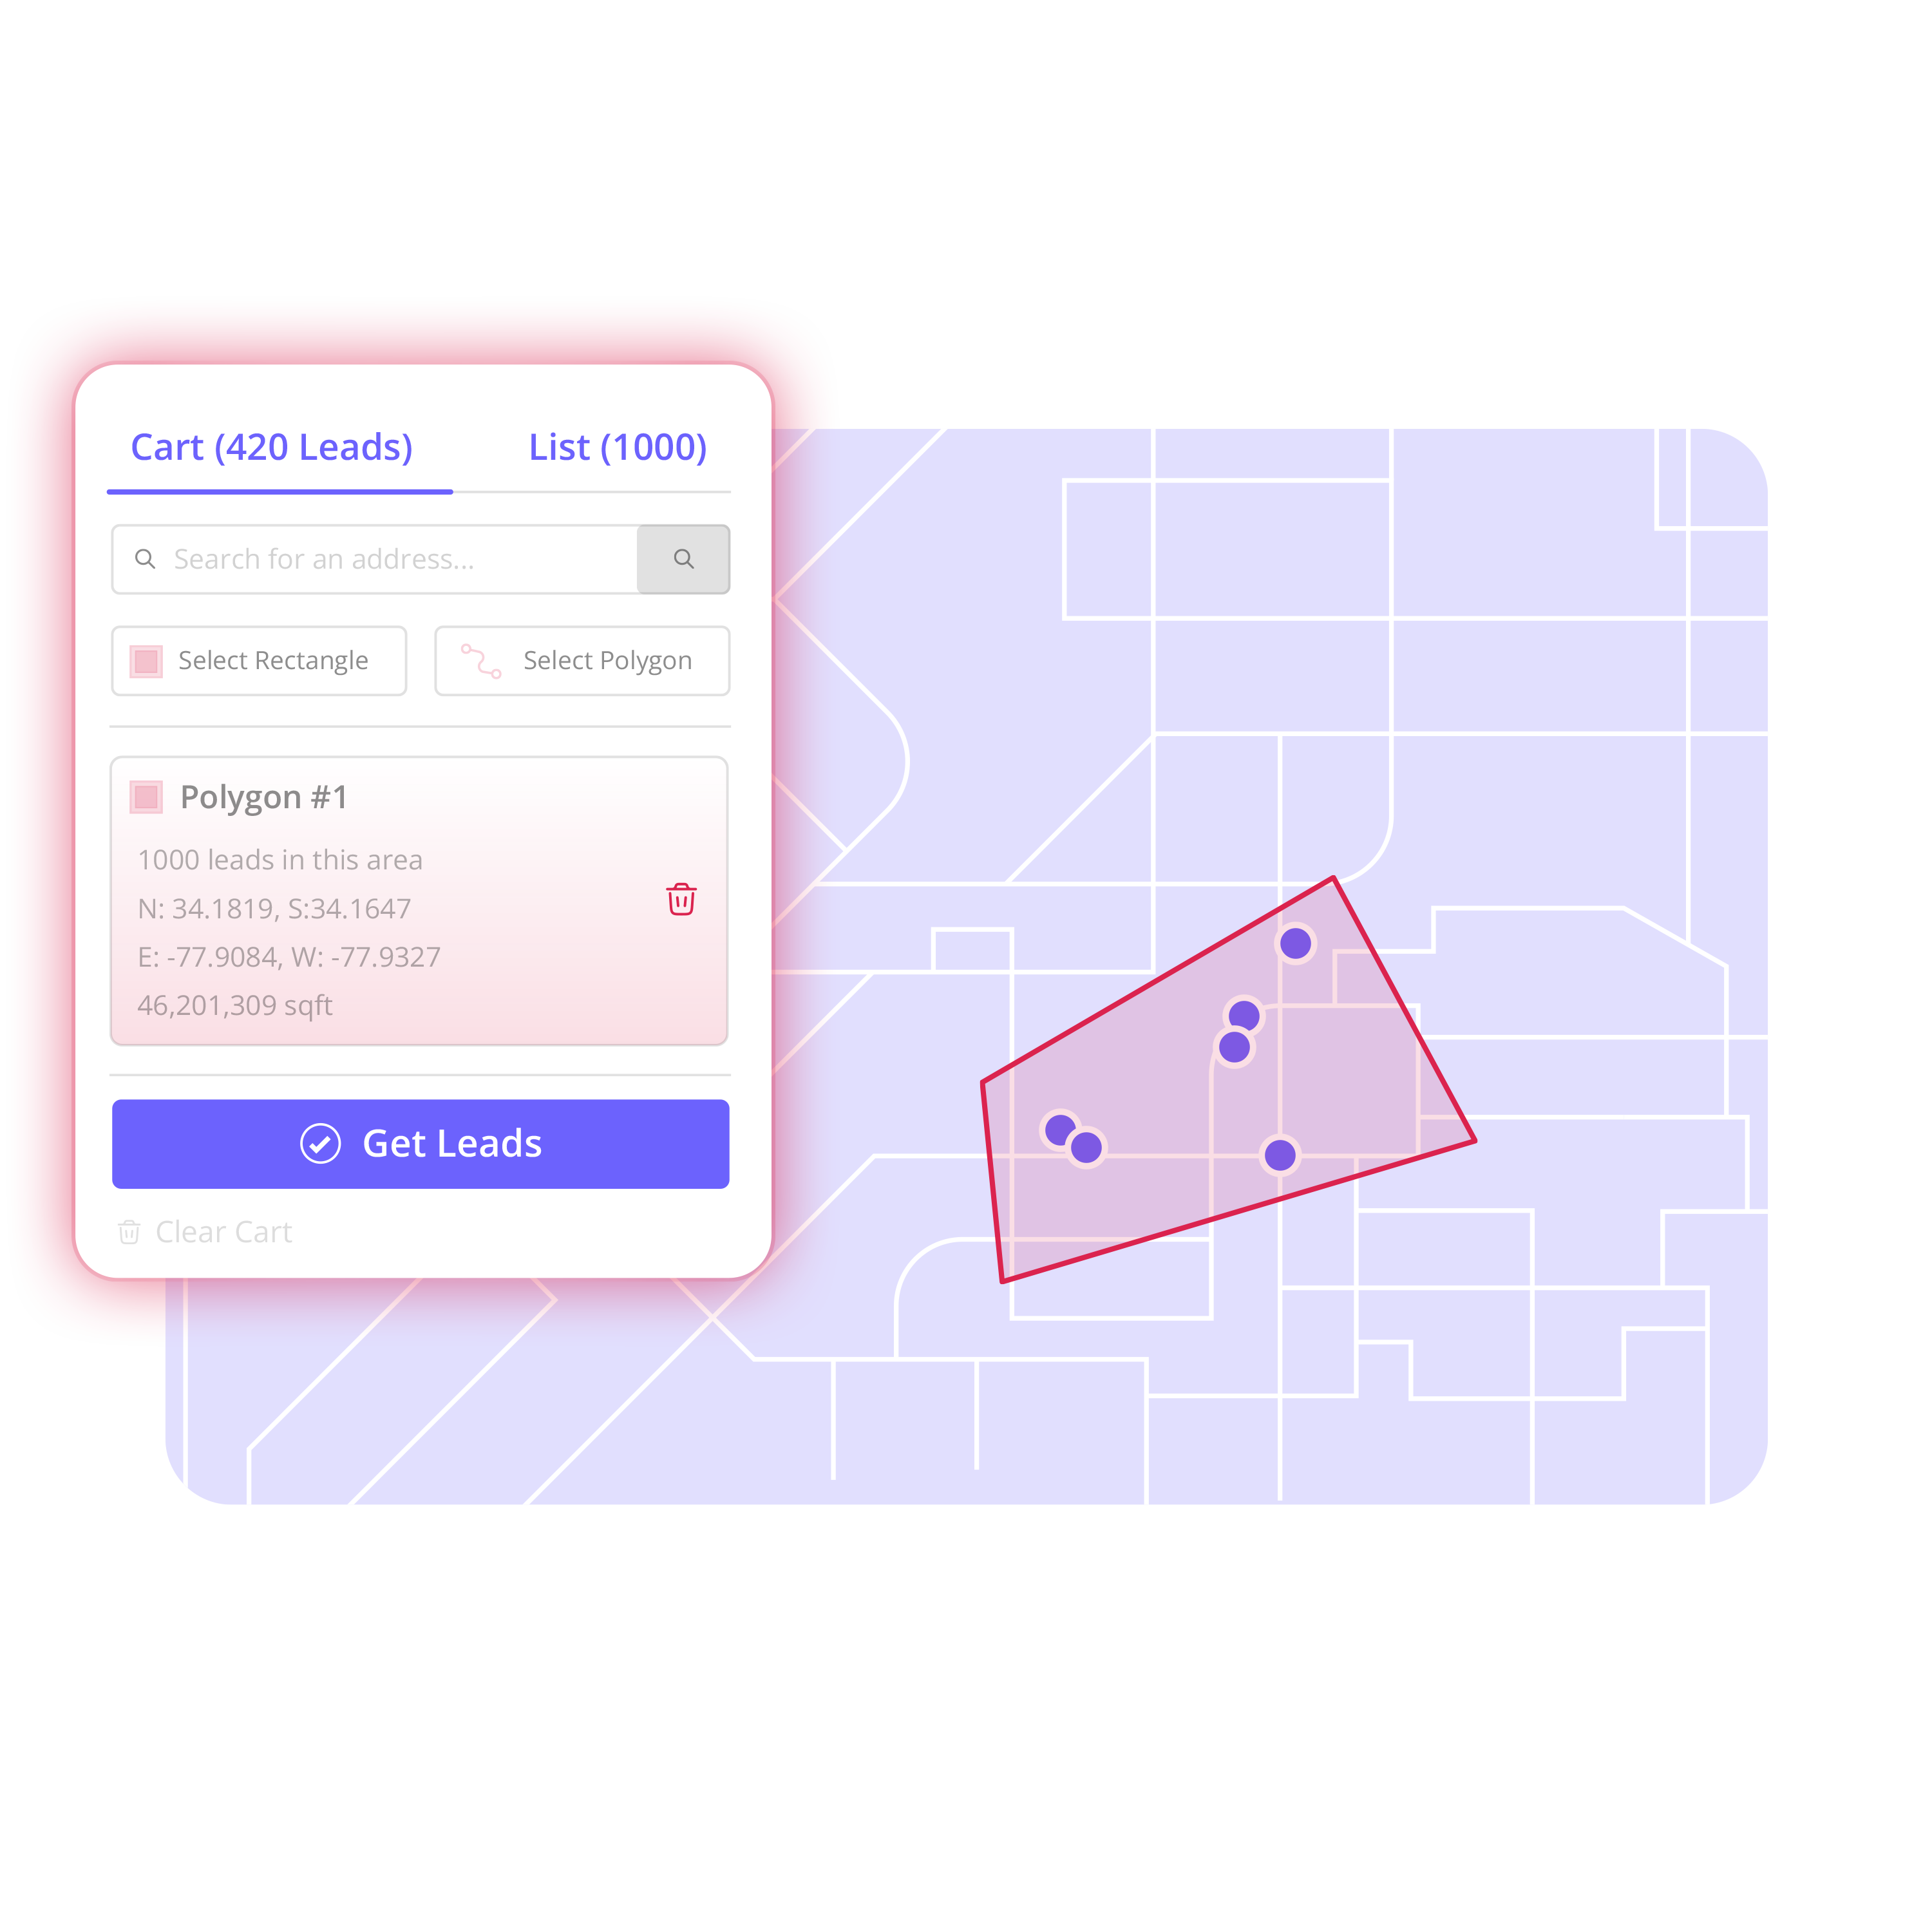
Start with the place your team intends to cover. Search an address, ZIP code, neighborhood, market, or service area. Then draw the exact streets, subdivisions, storm-affected blocks, or acquisition zone that belongs in the campaign.
That level of control matters in the field. A roofing manager may want every eligible property around a recent job site, excluding the neighborhood a different rep already owns. A solar canvassing manager may need a tight cluster that can be covered in a two-day walk. An investor may be focused on a few blocks near a target acquisition area, not an entire ZIP code.
When you define the territory first, the exported file reflects a real operating decision. Your team knows where to go, what to work, and who owns the area.
Build the List Before You Export Prospect Lists to CSV
Once the boundary is set, review the properties inside it and add the records that fit the campaign. Do not treat every property in a territory as an automatic export. A focused list is easier to assign, track, and work than a large file built on vague intent.
Use the campaign goal to guide selection. For a roofing saturation campaign, you might include homes near recent projects while excluding commercial addresses or properties already marked as contacted. For HVAC service-area growth, you may prioritize a specific neighborhood that is close to existing technician routes. For real estate acquisitions, you may filter for property characteristics that match your buy box.
This is the point where teams avoid a common failure: exporting first and making decisions later. That approach turns the spreadsheet into the place where territory rules, exclusions, and ownership are managed. It is slow, hard to audit, and easy to break when multiple people edit the same file.
Build the working list before export. Keep the map, selected properties, and campaign logic connected as long as possible.
Add Contact Details Selectively
Available homeowner and contact information can help prepare an outreach list, but it should be added with purpose. Enrich the records your team has chosen to pursue rather than spending time and budget on every property in a broad area.
For example, a canvassing team may only need property addresses, territory assignments, and status fields for a door-knocking route. A direct-mail campaign may require mailing details and list segmentation. A sales manager preparing outbound follow-up may choose to enrich a smaller set of priority records with available contact information.
Selective enrichment keeps the list relevant and easier to handle. It also helps managers control campaign scope. Available contact data does not replace consent or applicable outreach requirements, so use exported information in line with your company policies and the rules that apply to your channels.
Organize the File Around How the Team Will Work It
A clean export starts with clean organization. Before creating the CSV, give the list enough structure that a rep, manager, or operations coordinator can understand it without asking what each row means.
Use list names, tags, filters, statuses, boards, and assignments to separate campaigns and show progress. A simple naming convention can eliminate confusion. Instead of calling a list “Leads September,” name it for the area and purpose, such as “Westfield - Hail Follow-Up - Sept 2026.” The name should tell the next person where the records came from and why they exist.
Statuses also matter. Records marked new, assigned, contacted, appointment set, not interested, or do not contact should not all flow into the same outreach file. Filter the export to match the next action. If a team is sending a direct-mail piece, export the records approved for that mailing. If reps are canvassing tomorrow, export the assigned properties for that route.
This protects against overlap. It also makes it easier to answer practical questions: Which homes are assigned? Which streets are still open? Which records have already been worked? Those answers should not require comparing five spreadsheets.
Choose CSV Columns for the Destination Tool
CSV is useful because almost every CRM, canvassing platform, direct-mail provider, and sales system can accept it. But a file only imports cleanly when its columns match the job it needs to do.
Before you export, identify the destination. A CRM may need first and last name fields separated, a complete property address, phone and email fields where available, lead source, owner, status, and campaign name. A canvassing platform may care more about address components, route or territory name, assigned rep, notes, and current status. A mailing workflow may need a properly structured mailing address and segmentation fields.
Avoid exporting every available field just because it exists. Extra columns can create mapping mistakes and make it harder for the receiving team to find what matters. Include the fields needed to identify the record, preserve campaign context, assign ownership, and support the next outreach step.
For most campaigns, that means some combination of property address, city, state, ZIP code, available contact details, list or campaign name, tags, status, assigned user, and notes. The right column set depends on the destination tool and the campaign.
Run a Quick Quality Check
Take two minutes to inspect the list before export. Confirm the territory name, record count, filters, and assignment rules. Scan a few addresses at the edges of the boundary to make sure the geography matches the intent. Check that excluded or previously worked records are not slipping back into the campaign.
Then open the CSV and review several rows. Look for blank address components, inconsistent status values, duplicate records, or columns that will not be useful in the destination system. If your CRM has required fields, verify that the export includes them before you import hundreds of records.
This is not busywork. A small check before handoff is far easier than repairing a bad import after reps have started calling, mailing, or knocking.
Export Once, Then Put the List to Work
Territory by Top Interaction is built for this handoff. Choose the area, find properties, build the contact list, enrich selected records, organize the campaign, and export a CSV into the systems your team already uses. It is a campaign-list creation layer between the map and your existing sales process, not a replacement for every tool your team relies on.
After export, keep ownership clear. Import the file into the CRM, send the approved segment to the mail provider, or load the assigned records into the canvassing workflow. Save the campaign name and export date so operations can trace the file back to its source territory if questions come up later.
The real advantage is not the CSV itself. It is knowing that every row came from an area you chose, passed through a list your team organized, and is ready for a specific next action. Choose the area. Build the list. Export only what your team is ready to work.