
A neighborhood direct mail list works best when it starts with a real business reason, not a ZIP code pulled from a generic database. Maybe your roofing crew just finished three jobs near the same intersection. Maybe an HVAC company wants to fill a service gap without sending mail across its entire county. Maybe an investor has identified a block pattern that fits their acquisition criteria.
The goal is simple: choose the area, identify the properties worth working, and hand your team a clean file they can actually use. That gives you more control over where your budget goes, who owns the territory, and how direct mail fits with canvassing, calls, and CRM follow-up.
What Makes a Neighborhood Direct Mail List Useful?
A useful list is defined by geography first and volume second. Sending 5,000 pieces to a broad ZIP code may look efficient on paper, but it often creates waste. Your crew may only be working a few adjacent subdivisions. Your field reps may not have capacity for responses scattered 30 minutes apart. And your marketing team may have no clear way to measure which streets produced activity.
A focused list lets you match outreach to the ground truth of your operation. You can mail homes around a recent job, target streets inside a storm-response area, or support a sales rep assigned to a specific neighborhood. The list becomes part of a coordinated campaign instead of a one-time batch of addresses.
It also helps avoid a common operational problem: overlapping effort. When one rep canvasses an area, another sends postcards there, and a third imports a separate purchased list into the CRM, no one knows which households have already been worked. Start with one defined territory and one organized prospect list. Then assign ownership and track the next step.
Build the List From the Map Out
The most practical way to create a neighborhood mailing campaign is to work from the map toward the records, not from a broad file toward a vague target. The workflow should move quickly without forcing your team into manual spreadsheet cleanup.
1. Choose the area for a reason
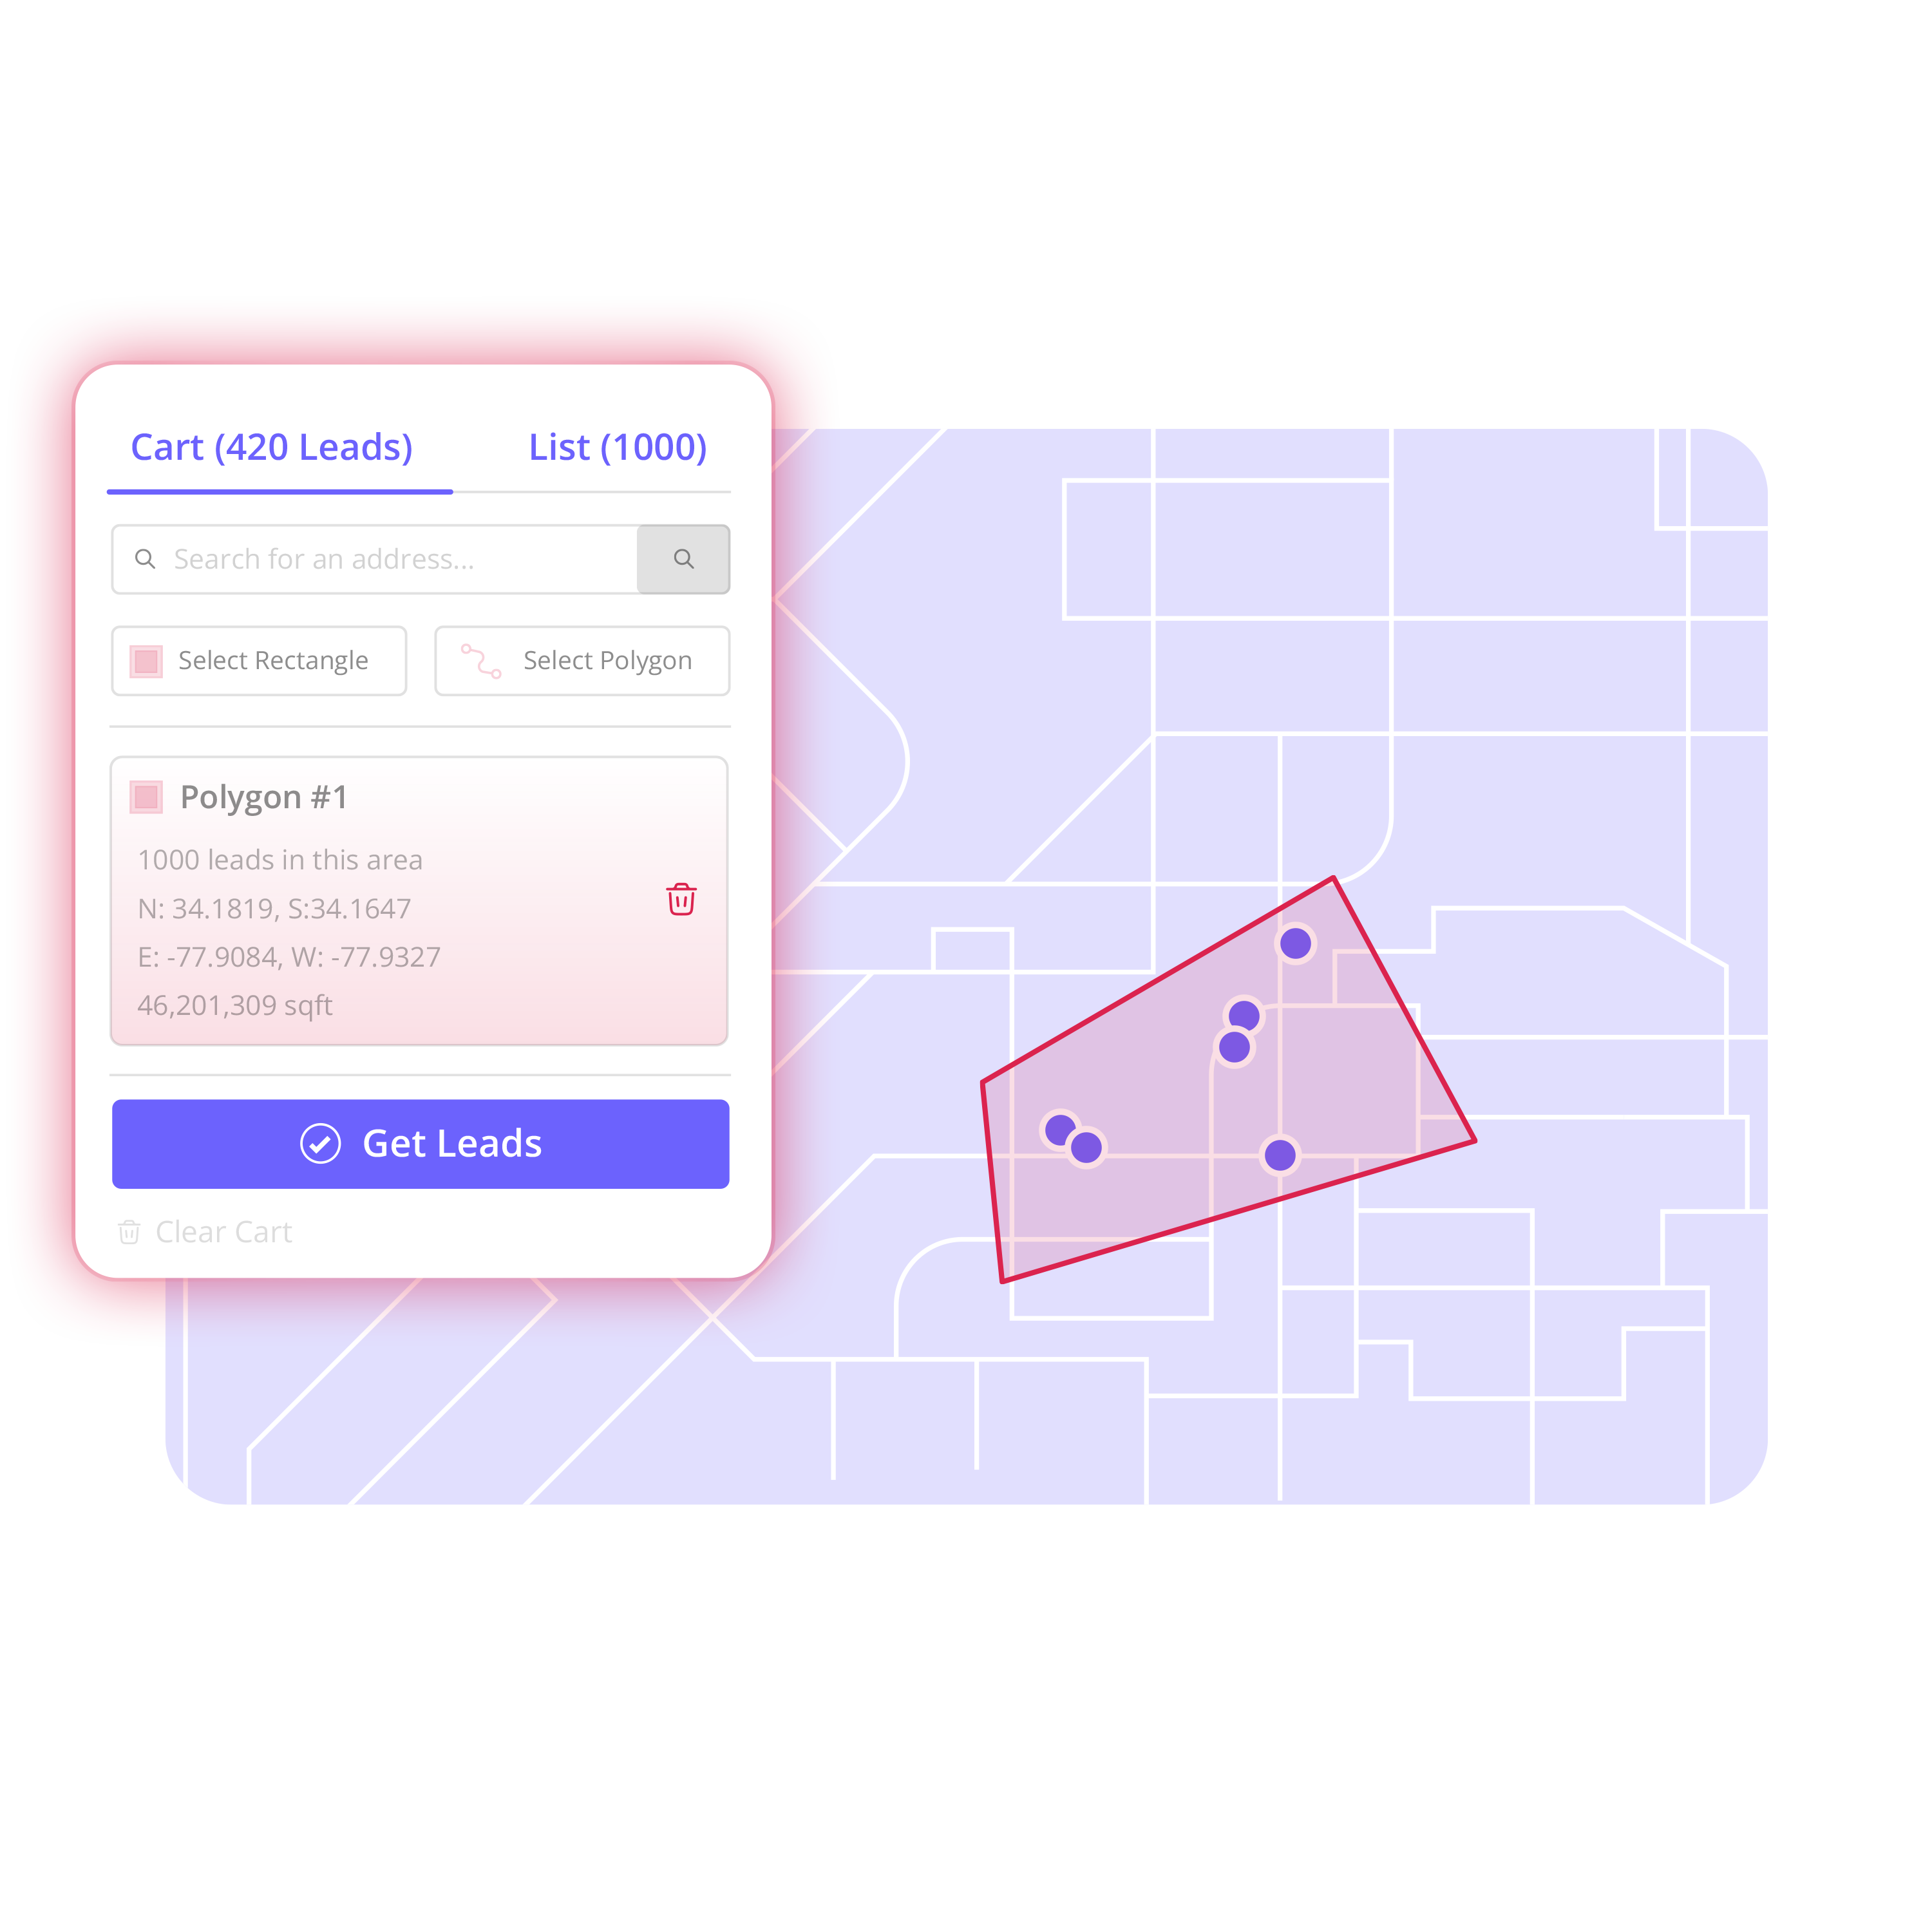
Start with the specific area your team wants to work. Search for an address, neighborhood, ZIP code, market, or service area. Then draw the exact streets or boundaries that make sense for the campaign.
For a roofing contractor, that may mean the homes surrounding a recent roof replacement or the section of town affected by a storm event. For solar teams, it could be a compact neighborhood where canvassers are already active. For HVAC companies, it may be a service-area pocket where technician capacity and travel time make outreach practical.
Avoid drawing a territory simply because it contains a large number of homes. A smaller area with a clear reason to prospect is often easier to work and easier to evaluate. The right size depends on your mail budget, field coverage, response-handling capacity, and campaign goal.
2. Find the properties inside the boundary
Once the boundary is set, identify the properties inside it. This is where map-based prospecting saves time. Instead of trying to reconcile street names, parcel exports, and ZIP-code lists, you begin with the exact geography you chose.
Review the property records before adding everything to a campaign. A neighborhood may include commercial buildings, vacant parcels, apartment complexes, new construction, or homes outside your target profile. If the campaign is meant for owner-occupied single-family homes, build for that purpose. If you are an investor looking for a broader acquisition area, use different filters and criteria.
The point is not to create the biggest possible list. It is to create a list your team can explain, work, and repeat.
3. Build a campaign-ready contact list
Add the properties that fit your campaign to a working list. Give it a name that tells the team what it is without opening a spreadsheet, such as “Maple Ridge Roof Saturation - September” or “Northside HVAC Replacement Area.”
This naming discipline sounds basic, but it matters once campaigns pile up. Clear list names make it easier for managers to see what was mailed, which rep owns follow-up, and whether a territory should be revisited later.
At this stage, separate campaign selection from contact enrichment. You may know a property belongs in the area before you need any additional homeowner or contact details. Build the property list first. Then enrich only the records you intend to pursue. That keeps the workflow focused and helps control unnecessary data handling.
Available contact information is useful for coordinating outreach, but it does not replace consent requirements or your team’s responsibility to follow applicable mailing, calling, texting, and privacy rules. A direct mail list should support responsible outreach, not shortcut it.
4. Organize prospects before you export
A CSV file is only useful if your team knows what to do with it. Before exporting, organize records with tags, filters, statuses, or boards that match your sales process.
For example, a roofing team might tag records by campaign area and set an initial status such as “Mail Planned.” After the postcards drop, the manager can assign nearby reps and move responding households into the next stage. A solar canvassing manager might tag the same territory for both mail and door-knocking activity, while keeping the lists distinct enough to prevent duplicate effort.
Use organization to answer operational questions: Who owns this area? Has it been mailed? Is it active for field prospecting? Which records should be exported to the CRM? Which properties should be held for a later campaign?
Territory helps teams move through this sequence in one place: choose the area, find properties, build the list, enrich selected records, organize the work, and export the file into the systems they already use.
5. Export only what the next tool needs
Your direct mail provider, CRM, canvassing platform, or internal operations team may each need a different file. Export the fields required for the next action rather than handing off a raw, oversized dataset.
For a print campaign, that may mean clean mailing addresses, property identifiers, and a campaign tag. For CRM follow-up, you may include assigned owner, status, notes, and available contact fields where appropriate. For a field team, the export may need territory labels that make route planning and ownership clear.
This is where many campaigns lose time. Someone exports a broad file, someone else removes duplicates, another person fixes columns, and the list comes back with unclear ownership. A map-first workflow reduces that handoff friction because the list was built around a defined territory from the start.
Match the List to the Campaign, Not Just the Channel
Direct mail can stand on its own, but it often performs better operationally when it supports work already happening in the area. A postcard around an active roofing job can give nearby homeowners a reason to recognize the crew at their door. A mail piece before a solar canvassing push can make a neighborhood less cold. An investor can use mailed outreach to create a structured first touch, then organize responses and follow-up by territory.
That does not mean every neighborhood needs every channel. If your team has no field coverage, mailing a compact area may be enough. If your reps are already knocking doors, a smaller mail radius may be more practical than a broad campaign. Let capacity shape the territory.
Measure the campaign by more than responses. Track whether the list was easy to launch, whether reps knew who owned follow-up, whether duplicate work decreased, and whether the same territory is worth revisiting. Those operational signals tell you whether your list-building process is helping or creating more cleanup.
Common Mistakes That Weaken Local Mail Campaigns
The first mistake is treating a ZIP code as a neighborhood. ZIP codes are useful for broad market planning, but they rarely reflect the streets your team can realistically work. Draw the actual area when precision matters.
The second is exporting before organizing. If a list has no campaign name, owner, status, or clear purpose, it becomes another file that people hesitate to use. Build the operational context before the handoff.
The third is trying to mail every possible property. More addresses can mean more cost, more responses to manage, and more field coverage problems. Start with an area your team can support. Expand after you have a repeatable process.
Finally, do not let direct mail live separately from the rest of your sales activity. The strongest local campaigns make it easy for managers, marketers, and reps to see the same territory and act on the same records.
Choose the streets your team can actually work. Build the list around those streets. Then give every record a clear next step before it leaves your system.