
A service territory fails long before a rep misses a quota. It fails when the boundary is vague, two people work the same streets, the list is full of records nobody intends to pursue, or a manager cannot tell who owns the next action.
This service territory design guide gives local sales teams a practical way to turn a map into a campaign the team can actually work. The goal is not to create perfect shapes on a screen. The goal is to choose the right area, build a usable property list, assign clear ownership, and move into outreach without spending days cleaning spreadsheets.
Start With the Work, Not the Map
A ZIP code is easy to select. That does not make it a useful territory.
Good service territories reflect how your team sells and operates. A roofing company may build a territory around recent jobs, storm paths, and neighborhoods with similar housing stock. An HVAC company may focus on drive time from a branch, technician capacity, and service history. A solar canvassing team may choose walkable blocks with a clear starting point and enough density for a full day in the field. A real estate investor may draw around acquisition criteria rather than municipal borders.
Before drawing anything, answer three questions: What campaign is this area for? Who will work it? What does success look like over the next week or month?
Those answers determine the territory. A door-knocking route and a direct-mail campaign can use the same neighborhood, but they should not necessarily use the same boundary or list. Field teams need compact, practical routes. Direct mail can cover a broader area. Acquisition teams may need filters that have little to do with travel time.
A Service Territory Design Guide: The 6-Step Workflow
The fastest way to build a territory is to follow the same operating sequence every time. Choose the area. Find properties. Build the list. Enrich what matters. Organize the work. Export the campaign.
1. Choose a territory with a specific purpose
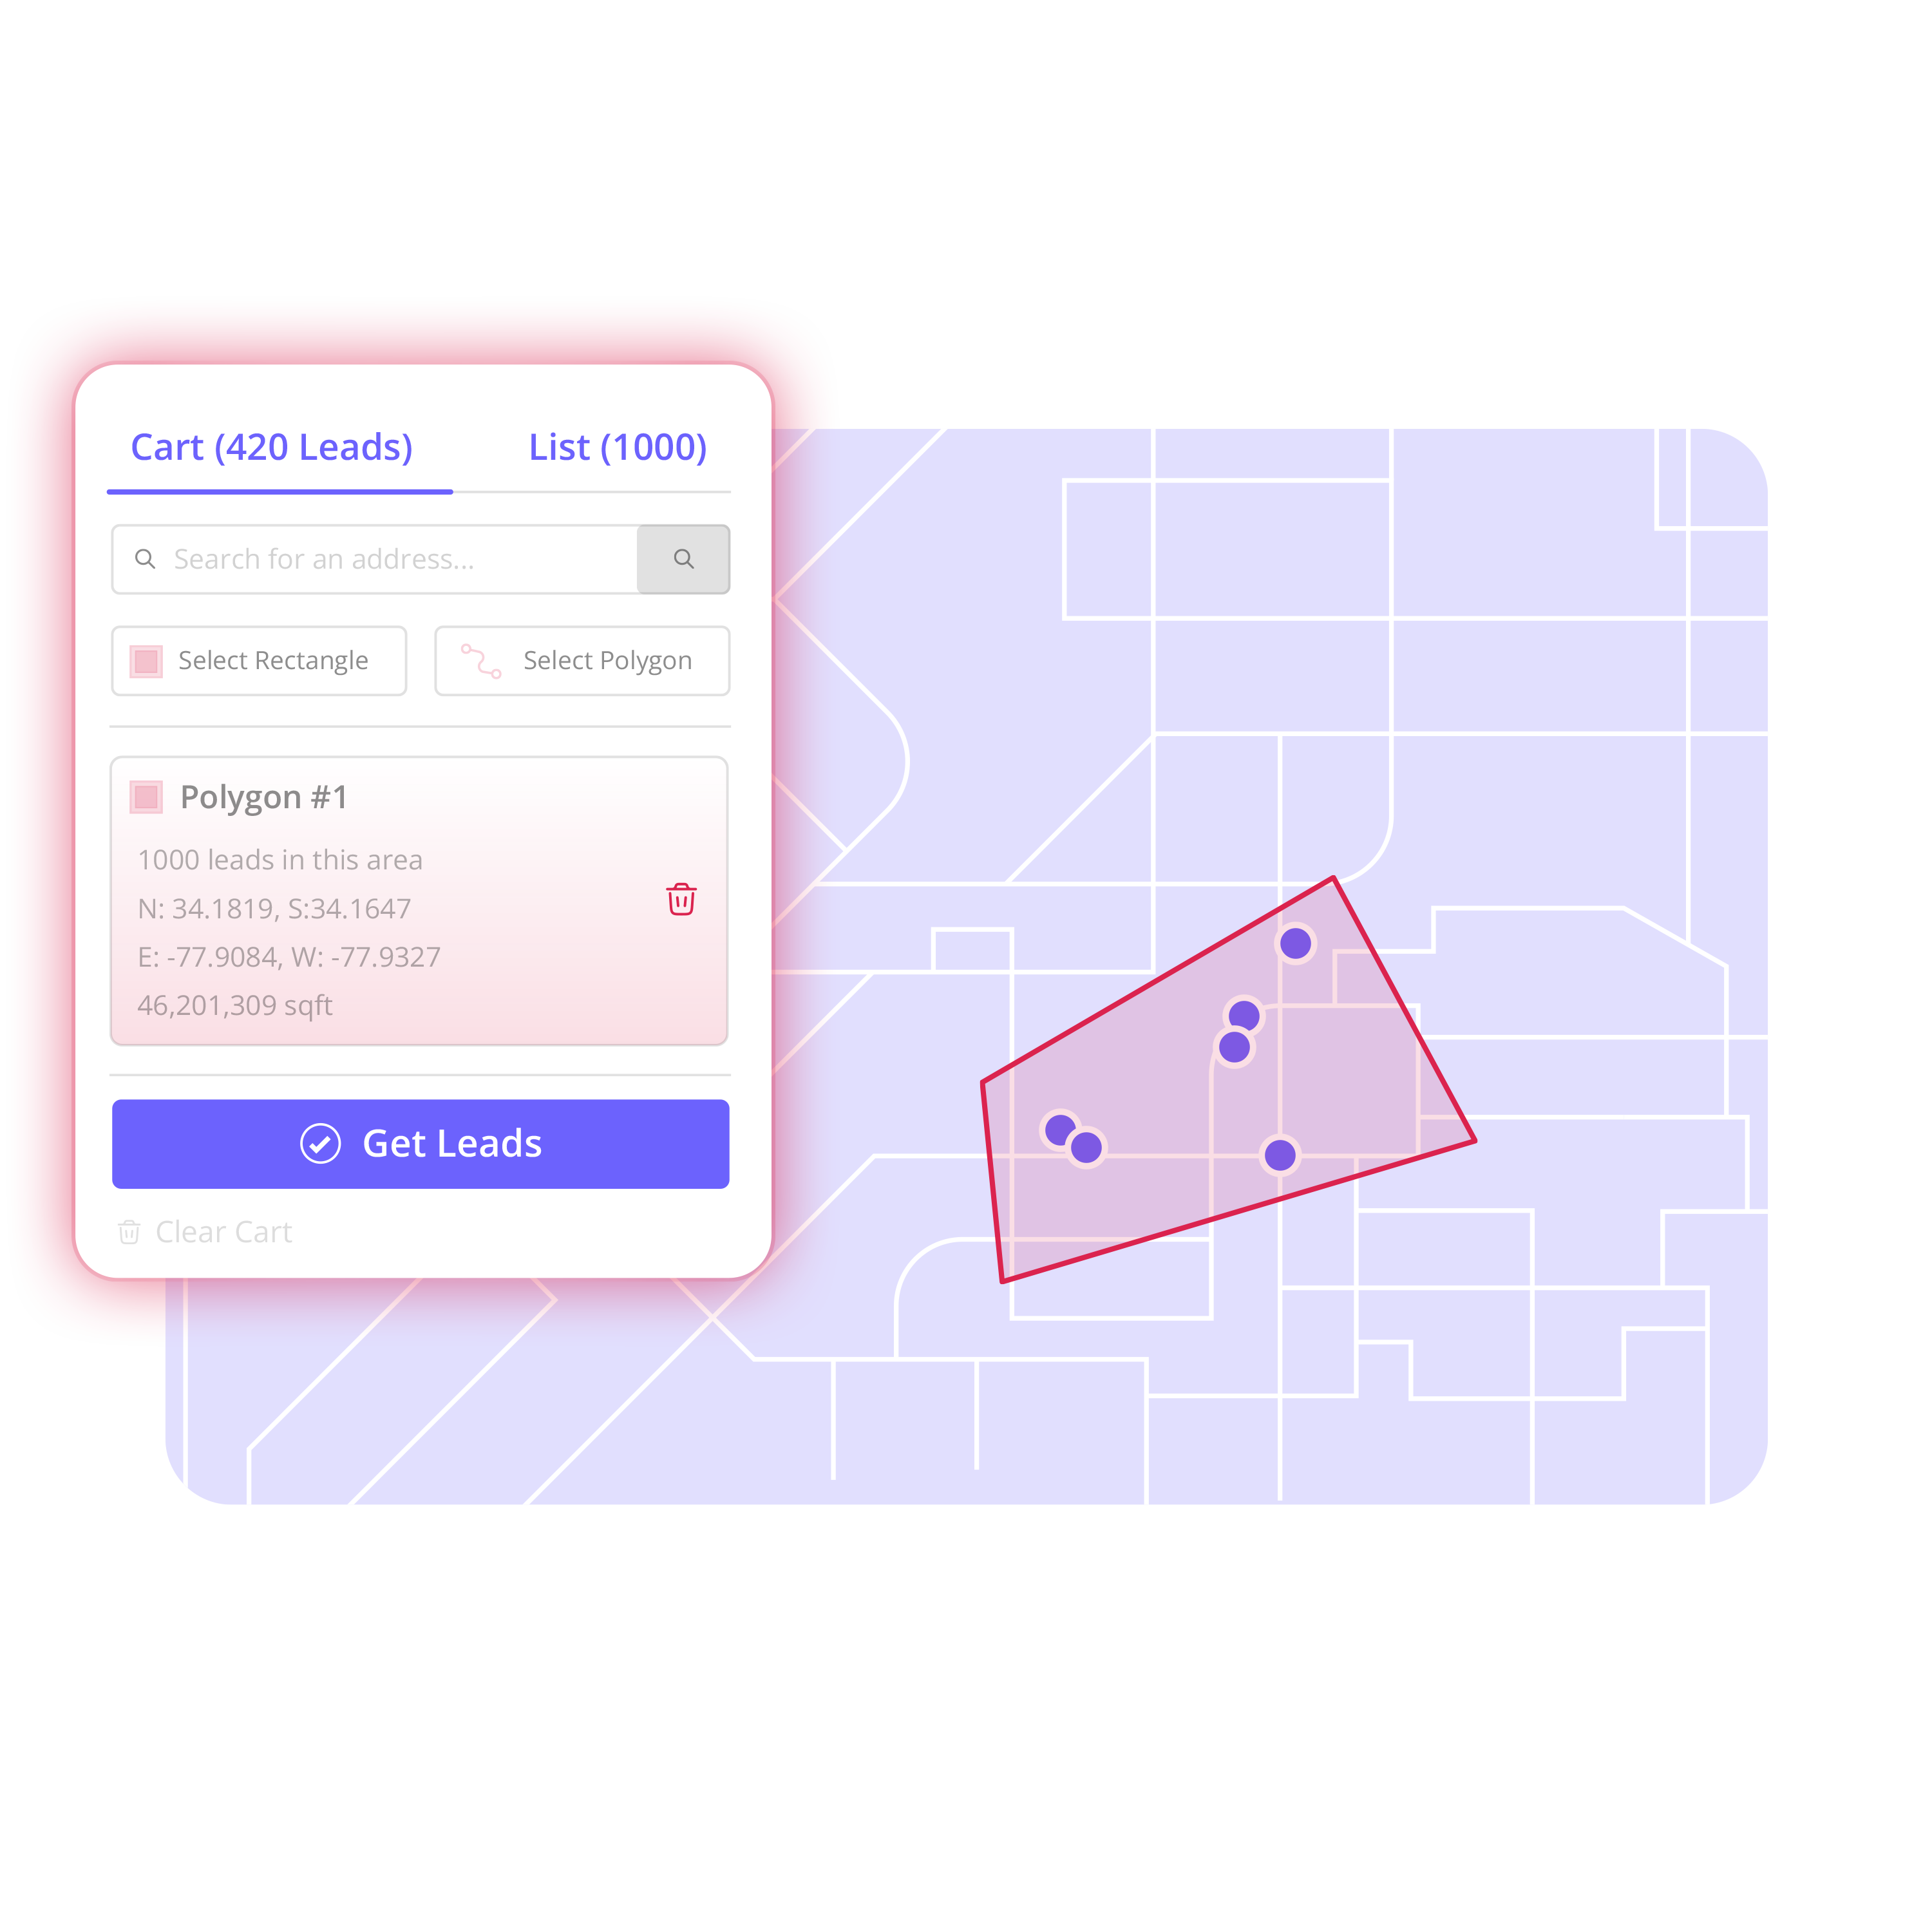
Start from a real point of opportunity: a recent installation, a storm-affected neighborhood, an expansion area, a service gap, or a target market. Search for an address, neighborhood, ZIP code, or market, then draw the exact streets your team wants to prospect.
Avoid drawing an oversized area simply because it looks promising. Large territories create slow follow-up, weak ownership, and lists that sit untouched. Start with what the team has the capacity to work. You can always add the next section once the first one has a clear plan.
For example, a roofing manager with three reps may divide a large subdivision into three compact sections based on natural roads or entrances. Each rep gets a defined starting area, a workable volume of properties, and a clear boundary that reduces overlap.
2. Find the properties inside the boundary
Once the area is set, identify the properties within it. This is where geographic intent becomes a real prospecting list.
Do not assume every property belongs in the campaign. Review the records based on the purpose of the territory. A contractor working around an active job may prioritize nearby owner-occupied homes. An investor may use different property criteria. A home-service company may exclude sections outside its practical service radius.
The point is control. Generic purchased lists often force a team to accept someone else’s definition of the market. A territory-first process lets you choose the streets first, then select the records that fit the campaign.
3. Build a list that people can use
Raw property data is not a campaign. Build a focused list from the records your team actually intends to work.
Keep each list tied to one clear effort. Name it so a manager can understand it without opening a spreadsheet, such as “Northside Storm Follow-Up - Week 1” or “Mesa HVAC Expansion - September.” Include the area, campaign type, and timing when useful.
This matters when several campaigns are active at once. Clear list names reduce duplicate work and make it easier to answer simple operational questions: Which neighborhood is assigned? Which list has already been mailed? Which records still need a visit?
A tool such as Territory by Top Interaction supports this step by turning selected properties within a drawn area into organized contact lists. The team does not have to begin with disconnected map screenshots and a separate spreadsheet.
4. Enrich only the records worth pursuing
Available homeowner and contact information can help a team prepare for outreach, but enrichment should be selective. Add it to the records that meet your campaign criteria rather than enriching every property in a large boundary by default.
This keeps the list focused and helps control unnecessary data work. It also gives the team a chance to review records before they enter a broader outreach process.
Treat available contact information as a campaign-planning resource, not automatic permission to contact someone. Your team still needs to follow applicable outreach rules, internal policies, and channel-specific requirements. A well-designed territory makes compliance easier because you know where the records came from, why they were selected, and how they are being used.
5. Organize ownership before outreach begins
A territory should make responsibility visible. If a rep, canvasser, or acquisition manager owns the area, mark that ownership before activity starts.
Use statuses, tags, filters, lists, or boards to separate records by campaign stage. A simple structure might distinguish new prospects, assigned records, attempted contacts, follow-ups, appointments, and closed-out records. The exact stages depend on your sales process, but the rule stays the same: do not let a territory become a pile of names with no next step.
This is also where managers prevent common territory problems. Tag records by campaign and rep. Filter out completed work before making a new assignment. Review overlap before releasing another list. If one team handles direct mail while another canvasses, define whether they share the same records, work them in sequence, or operate in separate zones.
Territory design is partly geography and partly handoff design. A clean boundary has limited value if two teams still believe they own the same prospects.
6. Export a clean campaign file
Your territory tool does not need to replace the CRM, canvassing platform, direct-mail provider, or outreach system your team already uses. It should make those systems easier to use by supplying a clean, intentional list.
Export the selected records when they are ready for the next step. Send the file to the sales process already in place, whether that means assigning a canvassing route, loading a direct-mail audience, creating a CRM campaign, or preparing an acquisition call list.
Before exporting, check for duplicates, confirm the campaign name, and make sure ownership fields are present if the list will be assigned. These small checks prevent the most frustrating version of territory work: a well-planned map that becomes messy the minute it reaches the field.
Design for Capacity, Not Just Coverage
The right territory size depends on the motion.
For a door-knocking team, compactness matters. A smaller set of adjacent streets may produce more completed conversations than a larger area with scattered addresses. For direct mail, the practical limit may be budget and campaign timing instead of walking distance. For service businesses, drive time, technician schedules, and existing customer density may matter more than neighborhood lines.
That means a fair territory is not always an equal number of properties. One rep may need fewer homes because the terrain is spread out, the homes are on large lots, or the area requires more travel. Another may handle more properties because the neighborhood is dense and easy to walk.
Measure workload by the activity required, not only by record count. If your team tracks doors knocked, conversations, inspections, appointments, or follow-up attempts, use that history to improve the next territory. Start with a practical boundary, then adjust based on what the field shows you.
Common Territory Design Mistakes
The first mistake is using administrative boundaries as sales boundaries without checking how the team works. ZIP codes, city limits, and county lines are useful reference points, but they rarely account for travel, housing patterns, job-site proximity, or rep capacity.
The second is building lists before defining ownership. If assignment happens after records are exported, duplicates and missed follow-up become much more likely.
The third is treating every property as equally valuable. A focused campaign list is easier to assign, review, and work than a massive export built around vague interest.
The fourth is failing to revisit the territory. A storm-response zone may be urgent for two weeks and irrelevant after that. A new job may justify expanding into adjacent streets. A rep may show that a boundary is too large to cover consistently. Territories should be controlled, but they should not be frozen.
Make the Map Useful
A service territory is not a colored shape for a planning meeting. It is a working definition of where your team will prospect, which properties belong in the campaign, who owns the follow-up, and where the data goes next.
Choose the area with intent. Draw the streets your team can work. Build the list before asking people to chase it. Then give every record a clear place in the campaign. When the map, list, and owner match, your team spends less time sorting data and more time acting on the territory they chose.