
A crew finishes a roof on Tuesday. By Wednesday morning, your sales team should know which nearby streets to work, who owns the properties, and which rep owns each block. That is the practical purpose of a geographic sales planning guide: turn a location-based opportunity into a clear, usable prospecting campaign before the moment passes.
For roofing, solar, HVAC, real estate acquisitions, and other local sales teams, the area often comes first. A recent job, a storm path, an expanding service zone, or a neighborhood with the right property profile creates the opportunity. The planning challenge is turning that area into an organized list without vague boundaries, duplicate records, overlapping reps, or hours of spreadsheet cleanup.
What geographic sales planning should produce
Geographic sales planning is not just drawing lines on a map. It is the operating process for deciding where your team will prospect, which properties belong in the campaign, who works them, and how the results return to your sales process.
A useful plan produces four things: a defined territory, a property or contact list tied to that territory, clear ownership, and a next action. If the team cannot answer "Where are we working?" and "Who owns these records?" in a few seconds, the plan is not ready.
The best approach is specific enough for field execution but flexible enough for real conditions. A roofing contractor may draw only the streets surrounding a completed project. An HVAC company may build a larger campaign around ZIP codes within a practical drive radius. A real estate investor may exclude subdivisions that do not fit an acquisition strategy. The right territory depends on the campaign, not a default circle around an address.
A geographic sales planning guide in six steps
1. Choose the area based on a real sales reason
Start with the reason the territory exists. “We want more leads in this city” is too broad to guide a team. “We completed a roof on Oak Street and want to work the surrounding 400 homes” is usable. So is “we need an acquisition list in the east-side neighborhoods where our criteria are strongest.”
Choose an address, neighborhood, ZIP code, service area, or market. Then set a boundary that matches how your reps will actually work. For a canvassing team, that may mean walkable blocks and logical stopping points. For direct mail, it may mean a defined neighborhood or property count. For a service business, it may mean areas that fit crew availability and travel time.
Avoid creating territories around vanity metrics. A large territory may look productive on a map while creating too much travel, too little repetition, and weak rep accountability. Smaller, well-worked areas often give managers a clearer view of activity.
2. Draw the exact streets your team wants to work
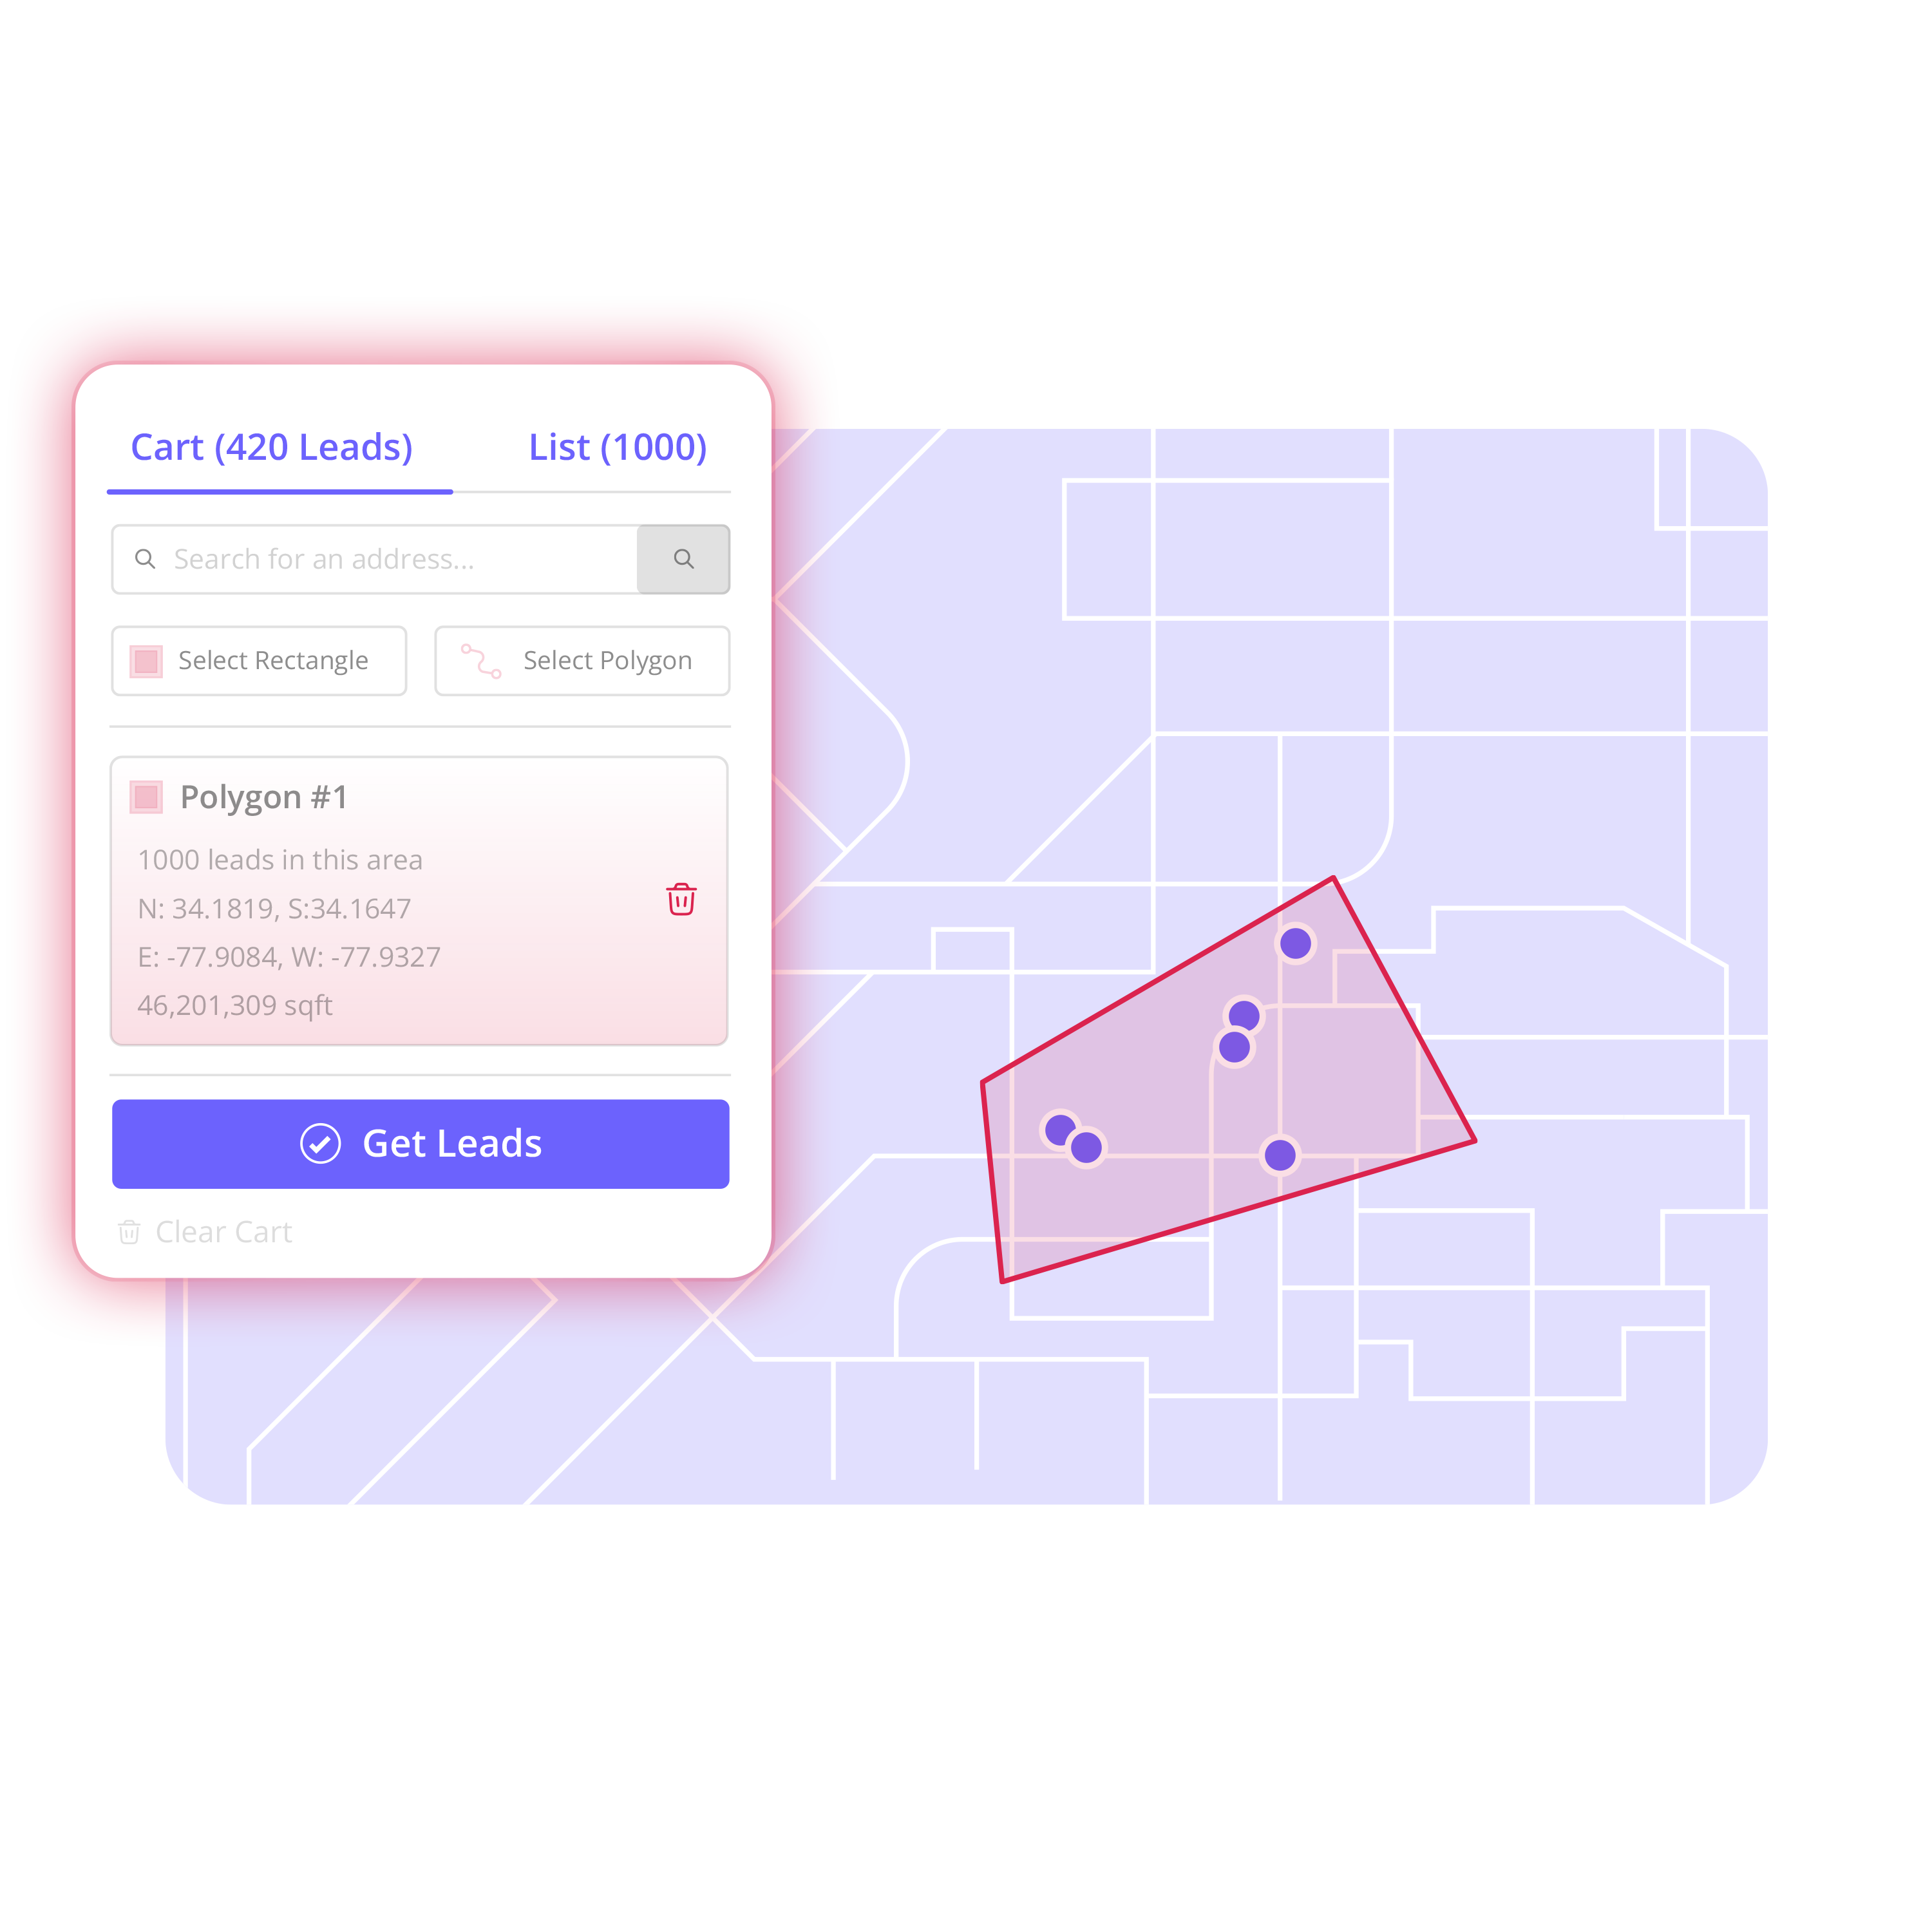
Generic radius searches are fast, but they can include properties your team does not want or miss the natural edge of a neighborhood. Draw a custom territory when precision matters.
Use visible boundaries that make sense in the field: major roads, subdivision entrances, rail lines, waterways, or the streets surrounding a job site. This reduces the common problem of two reps assuming they own the same houses. It also makes assignment conversations simpler because the boundary is visible, not buried in a spreadsheet note.
Precision is especially useful after a storm or in a neighborhood-saturation campaign. A storm-response area may need to follow the actual damage path rather than a citywide ZIP code. A solar team may focus on subdivisions where door-to-door coverage can be completed in a defined period. Draw the work area your team can execute, then expand only when the first territory is under control.
3. Find properties, then build a list with intent
Once the boundary is set, find the properties inside it. This is where a map becomes a campaign list.
Do not treat every property as automatically ready for outreach. Review the records and select the ones that fit the campaign. Depending on your business, that may include owner-occupied homes, specific property types, properties near recent work, or records that meet your internal acquisition criteria. A defined selection process keeps the list useful and avoids handing reps a pile of records with no purpose.
Build separate lists when the message, owner, or action differs. For example, a roofer might create one list for immediate neighbors of a completed job and another for a wider neighborhood mail campaign. An investor may separate properties for direct outreach from those needing additional review. Combining every record into one broad export makes follow-up harder and reporting less meaningful.
GeoDock supports this step by helping teams choose an area, identify properties within it, and add selected records to organized contacts. The goal is straightforward: build the list your team intends to work, rather than adapting a generic list after the fact.
4. Enrich only the records that matter
Contact information can help a team prepare outreach, but enrichment should be deliberate. Enrich selected records when the campaign and your outreach process call for it. Do not add cost and complexity to every property before you know it belongs in the campaign.
This is also where operational discipline matters. Available homeowner or contact information is not a blanket permission to contact someone. Your team remains responsible for following applicable calling, texting, mailing, privacy, and internal compliance requirements.
For a door-knocking campaign, property location and rep ownership may be enough to start. For a call campaign or a targeted follow-up sequence, available contact details may be worth adding to the records your team has prioritized. Match the depth of information to the actual campaign, not to a desire for more data.
5. Organize records so people know what happens next
A list without statuses is just a backlog. Organize prospects by territory, campaign, owner, and stage before the first rep starts work.
Use names your team can recognize at a glance. “Springfield - Oak Street Job Radius - April” is clearer than “List 17.” Add tags or filters for campaign type, source area, rep, priority, and disposition. Use statuses that reflect real field activity, such as unworked, attempted, contacted, appointment set, not interested, or follow-up needed.
Clear organization solves two expensive problems: duplicate effort and lost follow-up. If one rep has already knocked a property, called it, or marked it for a later visit, the next person should see that before acting. Managers should also be able to filter a territory and quickly identify what remains unworked.
The exact status structure depends on your sales process. A four-person canvassing team needs a simpler workflow than an acquisition operation with research, offers, and negotiations. Keep the structure lean enough that reps will use it consistently.
6. Assign, export, and run the campaign
The planning work is only useful when it reaches the tools and people doing the outreach. Assign areas or records to the appropriate reps, then export clean CSV lists into the CRM, canvassing platform, direct-mail system, or workflow your company already uses.
Exporting is not the end of planning. It is the handoff. Before launch, confirm the campaign owner, date range, messaging, success measure, and process for returning results. A canvassing manager may measure doors worked and appointments set. A home-service manager may track booked estimates by neighborhood. An investor may review qualified conversations and properties moved into underwriting.
Keep the original territory attached to the campaign wherever possible. When results come back, geography becomes useful feedback. You can compare neighborhoods, campaign types, rep coverage, and follow-up patterns instead of treating every result as disconnected activity.
Common planning mistakes that slow local sales teams
The most common mistake is starting with data instead of a territory. Purchased or inherited lists can have a place, but they often force the team to work wherever the list happens to be concentrated. Start with the market area you want to own, then build the list around that decision.
Another mistake is assigning a territory without defining capacity. A rep with 1,500 records may have ownership on paper but no realistic path to working the area. Estimate how many doors, calls, or follow-ups the team can complete during the campaign window. Build the territory to fit that capacity.
Finally, do not confuse a boundary with a strategy. A neighborhood only becomes a sales plan when there is an offer, a message, an owner, and a follow-up process behind it. The map sets the field of play. Your team still needs a clear reason to contact prospects and a disciplined way to record outcomes.
Make each territory easier to repeat
The strongest geographic campaigns create a repeatable operating habit. Choose the area. Draw the boundary. Find properties. Build the list. Enrich the records worth pursuing. Organize ownership. Export the campaign.
That process gives local sales teams control over where they prospect and clarity on what happens next. Start with one area your team already knows is worth working, make the campaign list clean, and give every record a clear owner before the first outreach begins.